

Affiliate Disclosure
This article may contain affiliate links. If you purchase through these links, we may earn a small commission at no additional cost to you. As an Amazon Associate, we earn from qualifying purchases.
Today, I’m sharing a step-by-step kitchen cleaning guide and the best order to clean your kitchen efficiently and effectively.
Cleaning your kitchen doesn’t have to feel overwhelming. This guide offers practical steps using common kitchen cleaning tools and real-life tips from years of experience.
The kitchen is the heart of a family because of food hygiene and health issues, so it should always be a priority. Plus, when your kitchen is clean, tidy, and well-organized, it feels like 80% of your home is clean, even if the other parts aren’t!
These kitchen cleaning tips are drawn from my professional kitchen cleaning experience and include some secret kitchen-cleaning strategies you won’t find anywhere else!
What Is Included in Weekly Kitchen Cleaning?
Kitchen deep cleaning includes every single detail. Thorough cleaning of kitchen appliances like ovens, dishwashers, refrigerators, and freezers. Areas like the inside of cabinet drawers and oven glass dividers, polishing silver utensils, and covering all the finer details that often get overlooked during regular cleaning.
Deep cleaning is an essential task that should be done once or twice a year.
On the other hand, regular or weekly kitchen cleaning should be performed weekly or biweekly, depending on how often you use your kitchen. During regular cleaning, you might clean the refrigerator, but only the visible areas, focusing more on general tidying to keep the kitchen functional.
Today, I’ll share a weekly kitchen cleaning guide using common household cleaning products, following the best and easiest kitchen cleaning checklist.
No matter how messy your kitchen is, this cleaning should take no more than 1 hour. Ideally, about 45 minutes. The goal is to clean the entire kitchen efficiently, not to spend hours on a single task.
Weekly Kitchen Cleaning Checklist
This step-by-step kitchen cleaning checklist covers everything you need to tackle during your regular weekly cleaning routine.
1. Cleaning Supplies
☐ Gather microfiber cloths
☐ Prepare sponges and scrubbers
☐ Put on cleaning gloves
☐ Gather vacuum, mop, and cleaning detergents
2. Quick Vacuum
☐ Vacuum countertops and visible surfaces
☐ Vacuum or sweep the kitchen floor
3. Declutter
☐ Clear countertops
☐ Return misplaced items to cabinets
☐ Discard expired food from the refrigerator
☐ Gather dirty dishes in one place
4. Dishes
☐ Unload clean dishes from dishwasher
☐ Load and run dishwasher
☐ Hand-wash non-dishwasher-safe items
☐ Put away clean dishes
5. Trash
☐ Empty garbage bins
☐ Replace bin liners
☐ Wipe and disinfect trash bins
☐ Clean under-sink bin area
6. Dusting
☐ Dust high surfaces and corners
☐ Dust shelves and cabinet tops
☐ Dust window sills and moldings
☐ Remove cobwebs and loose debris
7. Surface Cleaning
☐ Wipe cabinet doors and handles
☐ Clean dining table and chairs
☐ Wipe windowsills and light switches
☐ Clean spice jars and oil bottles
8. Large Appliances
☐ Wipe oven exterior and handles
☐ Clean refrigerator doors and handles
☐ Wipe freezer door edges
☐ Clean dishwasher exterior and edges
9. Small Appliances
☐ Clean microwave inside and outside
☐ Empty and wipe toaster tray
☐ Wipe kettle and base
☐ Clean coffee maker exterior
☐ Wipe air fryer and other countertop appliances
☐ Clean dish rack and drip tray
10. Exhaust Hood Area
☐ Wipe around exhaust fan filter
☐ Remove grease buildup from surrounding surfaces
☐ Dry all cleaned surfaces
11. Stovetop
☐ Clean cooktop surface
☐ Scrub stubborn grease spots
☐ Clean burner caps and grates
☐ Dry and reassemble stove parts
12. Countertops & Backsplash
☐ Wipe backsplash
☐ Remove grease splatters
☐ Clean countertops thoroughly
☐ Buff surfaces dry for a streak-free finish
13. Sink
☐ Scrub sink basin
☐ Clean drain area and edges
☐ Clean faucets and handles
☐ Wash sink accessories and holders
☐ Dry and polish sink
14. Floor
☐ Vacuum floor thoroughly
☐ Move chairs and rugs if needed
☐ Mop floor with appropriate cleaner
☐ Return furniture and rugs after drying
15. Disinfection (Optional)
☐ Disinfect sink area
☐ Spray cabinet handles
☐ Disinfect refrigerator handles
☐ Sanitize trash can handles
☐ Disinfect other high-touch surfaces
16. Final Check
☐ Return cleaning supplies to storage
☐ Hang cloths to dry
☐ Check for missed spots
☐ Remove trash from the kitchen
☐ Enjoy your clean kitchen
Step by Step Kitchen Cleaning Guide: In Correct Order
When you know exactly what to do in which order, and have a step-by-step guide from a professional, you’ll be amazed at how efficiently you can clean your kitchen, just like a pro!
Step 1: Start Your Step-by-Step Kitchen Cleaning with the Right Tools
Before starting your step by step kitchen cleaning, make sure you have the right kitchen cleaning tools. The right tools can make all the difference in efficiency and results.
Highly Recommended
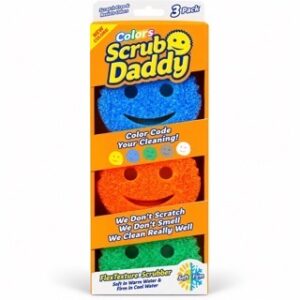
Scrub Daddy Original Sponge (3 Pack)
Rating: ⭐⭐⭐⭐⭐ 4.8/5
Best For: Everyday kitchen cleaning
Pros:
✔ Scratch-free
✔ Temperature-responsive
✔ Odor-resistant
✔ Durable
Cons:
✘ More expensive than basic sponges
✘ Can wear with heavy-duty scrubbing
Here’s a list of essential tools:
- Microfiber cloths
- Sponges and scrubbers
- Hand gloves
- Razor blade scraper (for the stove)
- Vacuum cleaner (including small brush attachments)
- Mop stick and bucket
- Long-handled duster (optional)
- Narrow Brush (For kitchen sink)
- Cleaning detergent
- Dish soap
- Special cleaners for the stove and sink (if available)
- An all-purpose detergent works well if you don’t have a specific floor cleaner.
- Disinfectant Spray
Step 2: Quick Vacuum
Bread crumbs, pet hair, or scattered crumbs from the kitchen can easily spread to other areas of your home while you are cleaning it.
You might plan to focus solely on cleaning the kitchen today, but as you move around, whether to check on your baby, manage laundry, or take a quick break, you could inadvertently carry dust or debris to other parts of the house.
💡 Tip
Here’s a secret you might not have heard before: a quick vacuum is essential BEFORE you start your kitchen cleaning. A quick vacuum of the kitchen counter and floor surface at the beginning prevents the spread of dirt.
Step 3: Declutter
Less clutter means less effort in cleaning. Start from one side of the counter and work your way to the other.
- Discard items you no longer need in the kitchen, such as empty snack packets or old newspapers.
- Return items like cookie boxes, sugar pots, or flour packets to their designated drawers or cabinets.
- Don’t forget to inspect the refrigerator. Discard expired food or anything you no longer want to keep.
- Gather dirty dishes scattered around the kitchen and dining table: plates, knives, glasses, food containers, tea jars, etc. Place them in the sink or on the counter in one place for cleaning.
- If there’s leftover food in a cooking pot, transfer it into a container and store it in its appropriate place. Aim to clear as much space as possible.
Remember, this is regular cleaning, so stay focused. Don’t spend too much time decluttering or organizing.
Step 4: Take Care of the Dishes
Start with the dishwasher. Unload it and put the clean dishes back in their proper places. If any dishes are still damp, do not leave them to dry. Rather, use a dry kitchen towel to wipe them and place them in their place.
Next, load the dishwasher with the dirty dishes you gathered during decluttering. Ensure every item is dishwasher-safe, arrange them properly, and then run the machine.
For any items that didn’t fit or aren’t dishwasher-safe, wash them by hand. Once washed, place them on the dish rack to dry.
After they’ve dried, use a dry kitchen towel to wipe off any remaining water drops and store them in their designated places (Optional). This will free up the kitchen rack, making it easier to clean later.
Step 5: Take Out the Garbage
Empty the rubbish bins and place them near the front door so you don’t forget to take them out.
Quickly wipe down the bins and spray DIY disinfectant before putting in new bin bags. Washing the bins isn’t necessary unless it’s urgent, as this is a regular cleaning session, and you don’t want to spend too much time on a single task.
Finally, replace the bags and quickly clean the area under the sink where the bins are kept.
Step 6: Thorough Dry Dusting
Highly Recommended

Extendable Cobweb Duster
Pros
✔ Extends up to 100 inches
✔ Includes 2 versatile duster heads
✔ Washable and reusable design
Cons
✘ May be short for very high ceilings
✘ Duster heads need regular cleaning
The mainstream of cleaning.
Dry dusting is a crucial part of cleaning. Without proper dusting, wiping surfaces won’t be as effective. Dust all reachable areas, from up to bottom direction, so cobwebs and dust collect at the floor level for easier cleanup.
Since this is regular cleaning, you’re not expected to disassemble light fixtures or perform deep cleaning. Simply focus on dusting the visible surfaces you can easily access.
You can use a dry microfiber cloth, or a long-handled duster, or a vacuum with a small brush nozzle for the best results.
Based on my experience, a long-handled duster is the quickest tool for reaching everywhere. Like wall moldings without bending your back, open shelves, stovetops, picture frames, lamps, kitchen counters, electrical sockets, window sills, mirrors, cabinet tops, radiators, etc.
👨🔬 Expert Tip
For hard-to-reach spots, like behind the refrigerator, cabinets, or under the oven or dishwasher, a long-handled duster is ideal. For easy-to-reach surfaces, a dry microfiber cloth works perfectly. Avoid using a damp cloth for dusting, as it can smear dirt and make things worse.
Step 7: Wipe Clean Surfaces
After dusting, wiping a surface makes it shiny.
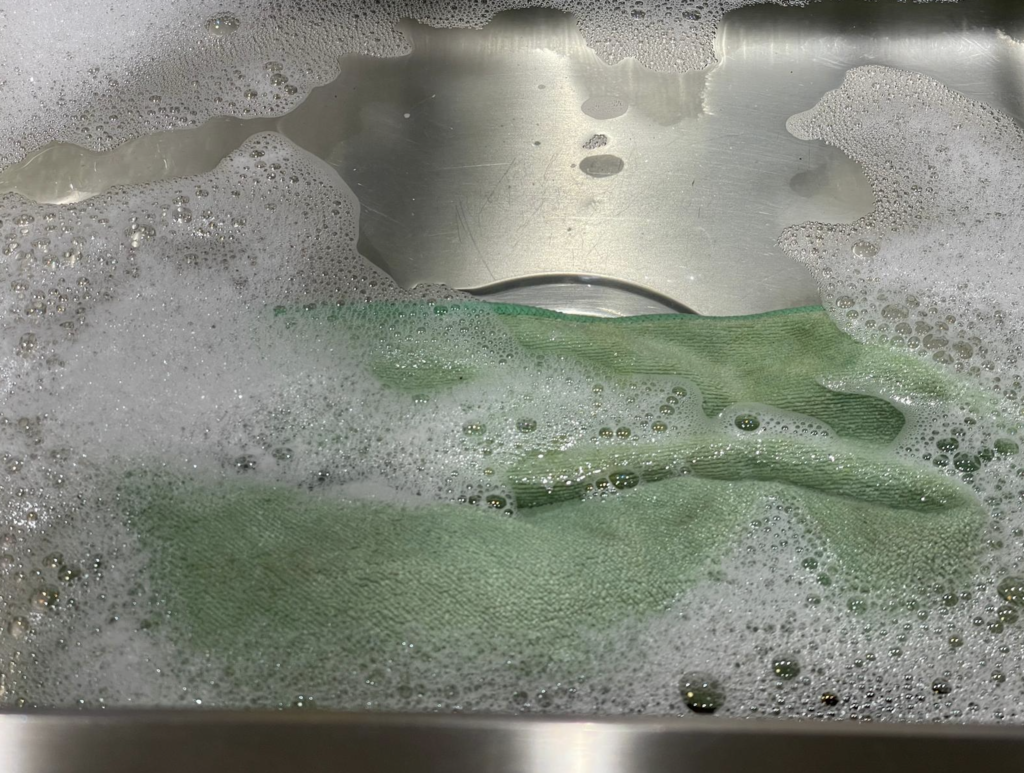
Preparation: Prepare soapy water (dishwashing liquid with warm tap water) in your kitchen sink to speed up the cleaning process instead of using a separate bucket.
- Kitchen Cabinet: Dampen a microfiber cloth with the soapy water to easily remove grease from the cabinet. For the best results, wipe with a dry microfiber cloth after using a wet one; otherwise, it may leave water stains on the cabinet. Focus more on high-touch areas, like knobs and the surrounding areas of cabinet doors, as these tend to get dirtier due to frequent contact.
- Kitchen Tables and Chairs: Wipe down the dining table and chairs. Don’t forget to check beneath the chair and table if there are small children at home.
- Small Surfaces: Wipe windowsills, the top of the kitchen fan, light switches, or anything else that needs to be cleaned.
- Items on the Counter: Wipe spice jars and oil bottles, and place them with labels facing forward. This simple step gives your kitchen a professionally cleaned look.
Microfiber Cloth Tip: To use all 8 clean sides of a microfiber cloth, fold it twice across the middle.
Step 8: Wipe Clean Large Appliances
Drain the warm, soapy water from the sink and prepare it again for the appliances.
Oven: Wipe the exterior of the oven first with a damp cloth, followed by a dry one. Save the oven’s interior and grill for a separate deep cleaning session. You can clean your oven like a pro by your own homemade oven cleaner recipes. Open the door and clean the edges and inside glass surface, paying special attention to door handles and knobs.
When wiping the oven, ensure the microfiber cloth is only damp, not soaked, to prevent water from seeping into the oven door glass panels.
Save the oven’s interior and grill for a separate deep cleaning session.
Fridge and Freezer: Open the doors and wipe the moldings and edges. Quickly wipe any visible spots, such as spills from soda or sauce. Thoroughly clean the fridge door, handles, etc. If there are magnets or pictures on the fridge door, you don’t need to remove them; simply clean around them as needed.
For stainless steel fridges, take extra care and consider using a specific stainless steel cleaner. Avoid using vinegar on stainless steel; this also applies to microwaves.
Dishwasher: Open the door and wipe the inside, edges, and exterior. Mineral deposits and undissolved detergent can build up inside the door. If the dishwasher is in use, wipe only the exterior.
If it’s not in use, consider running an empty cycle with a regular or homemade dishwasher cleaner.
Step 9: Wipe Clean Small Appliances
- Microwave: If the inside residue is very stubborn, steam microwave cleaning is the best option. Start the steam setting 4–5 minutes before, while doing other kitchen chores. It softens the dirt and makes microwave cleaning super quick and easy.
- Toaster: Empty crumbs from the toaster tray, and wipe down the tray and the entire toaster.
- Kettle: Simply wash by hand or wipe it down. Don’t forget to clean the base.
- Coffee Maker: Discard the coffee filter, wash the jar by hand, and avoid putting it in the dishwasher. Wipe the coffee maker thoroughly.
- Additional Appliances: Also, wipe down the air fryer, instant pot, stand mixer, etc.
- Dish Rack: Mineral deposits and hard water stains may accumulate. If there’s a tray under the rack, wash and wipe it as well.
Step 10: Around the Exhaust Fan Filter
- Clean the area around the exhaust fan filter above the stove with a damp microfiber cloth in warm, soapy water. If there’s excessive grease, repeat the process.
- Wipe dry with a green microfiber cloth.
- Do not open the filter cover or remove the filter; save that for deep cleaning.
Step 11: Cooktop Stove Burner
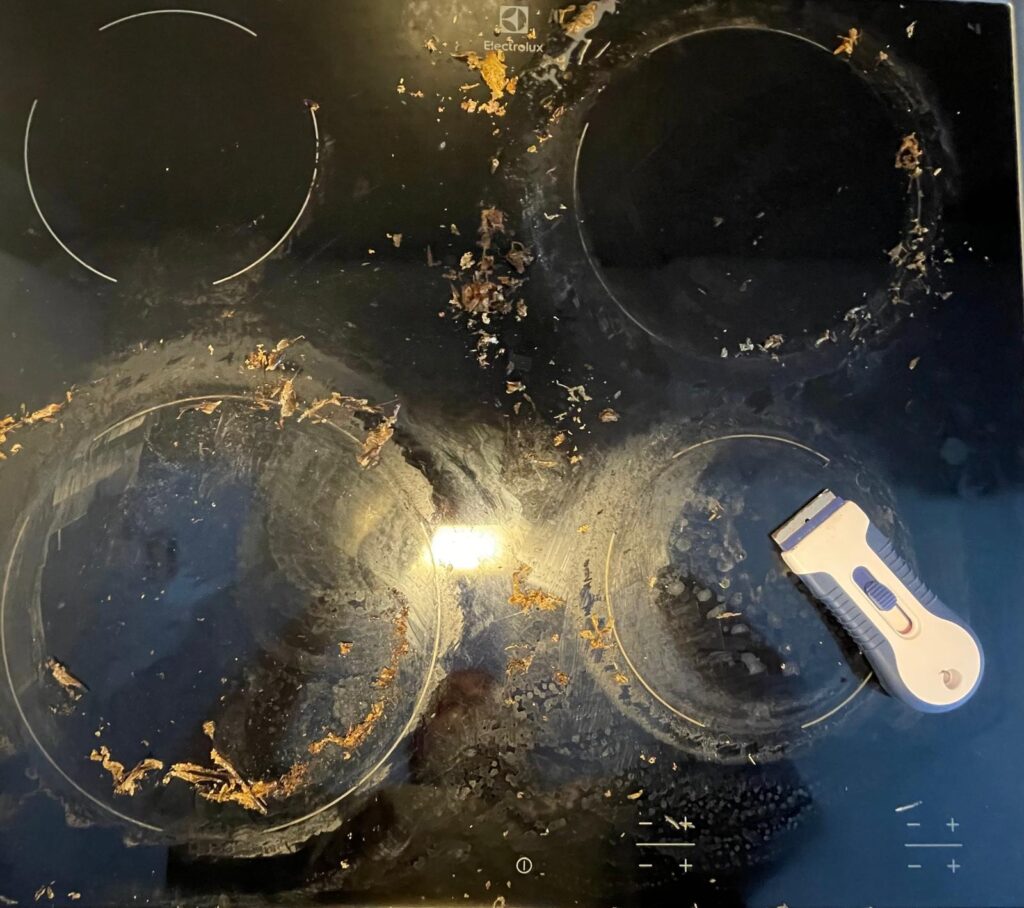
Electric Cooktop: To clean your glass stovetop properly, apply washing-up liquid to your scrubber and rub the stovetop surface to loosen stubborn grease. The grease is already wet, now it’s easy to scrape the cooking range with the blade if there’s a lot of grease buildup. Wipe away the loosened grease, then wipe several times with a damp cloth until the surface is spotless.
If you have a special detergent for glass cooktops, you can use it to scrub the surface in this step, then wipe it down, followed by a dry microfiber cloth.
Gas Stovetop: To clean your gas stovetop properly, soak the greasy grates and burner caps in warm, soapy water in the kitchen sink. Scrub the stovetop surface with washing-up liquid or a special detergent (if available). If necessary, scrape off any hardened grease that remains after scrubbing. Repeat the scrubbing, rinse, and then wipe dry. Clean the grates and burner caps by hand, wipe them dry, and place them back on the stovetop.
Don’t forget to rinse the microfiber cloth thoroughly after use, as it may contain a lot of cooking fat residue.
Step 12: Kitchen Counter
Since you’ve already cleared the counter, wiped the oil bottles and spice jars, and organized the tray, this final step will give your countertop a shiny finish.
Backsplash: This area is especially important, as it often collects cooking grease and can become grimy. If left uncleaned, grease buildup becomes hard to remove.
Depending on the material, whether ceramic or stone tile, stainless steel, or glass tile, wipe the backsplash with a microfiber cloth dampened in warm soapy water. You may scrub if necessary, then rinse, wipe, and finish with a dry wipe.
Avoid using abrasive detergents, as these can damage the tile grout.
It’s fine to wipe down the tiles without focusing deeply on grout cleaning; you can leave it for the deep cleaning session.
Countertop: Wipe the counter with a soapy, damp microfiber cloth. If you have a special detergent for countertops, you can use it here, followed by a dry microfiber cloth to give it a shiny finish.
Step 13: Kitchen Sink
Cleaning a sink and making it shiny doesn’t require much effort.
The sink will already be a bit shiny after holding warm soapy water for wipe cleaning.
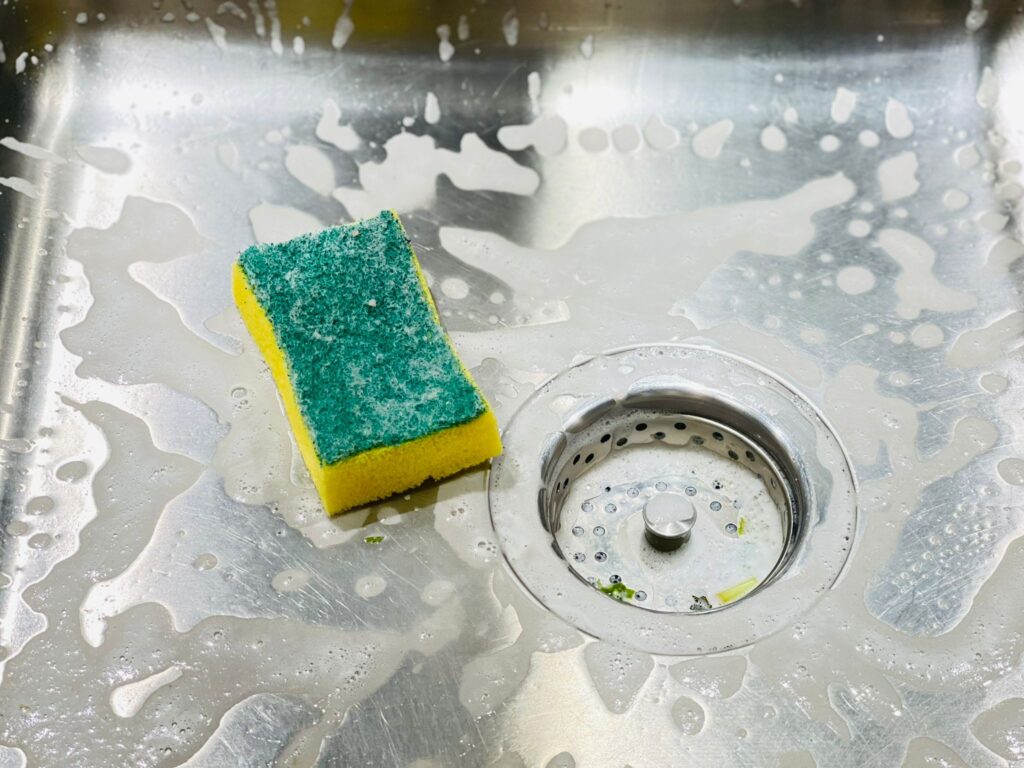
Stainless Steel Sink: A thick, grainy liquid detergent works best. It easily reaches all areas, including the strainer and faucets. Spread it with a sponge or scrubber, wait a minute, then scrub the whole sink thoroughly. It’s highly effective, covering all areas and removing all brown and black spots, even in the strainer, faucet grout.
If you don’t have special detergent, washing liquid with a scrubber also works well.
However, a grainy liquid cleaning detergent provides a professional look, with a noticeable difference in shine.
- Check the edges of the sink; a narrow brush is best to use here.
- Don’t forget to wash the sponge, dishwasher, and handwasher holder.
- Scrub the faucets and water tap, then finish by drying the sink and countertop with a clean, dry microfiber cloth.
Gold Bar Sink/Brass Sink: A soft sponge and washing-up liquid are ideal for this type of sink.
Never use a Svinto or harsh detergent to clean a brass sink, as it may cause scratching.
Step 14: Clean the Floor
The kitchen floor is typically the dirtiest in your home, as it collects cooking spills, grease, water droplets from the sink and dishwasher, and footprints, often resulting in dirty spots. Extra attention is necessary here.
A good guideline is to quickly vacuum every day and mop the floor once a week.
- Vacuum the floors and carpets, setting the carpets aside before mopping.
- Move the dining chairs to the side of the kitchen.
- Check your floor type. If a specific detergent is available for it, use that one with the mop water. If you’re unsure about the floor type and appropriate detergent, simply use warm water.
- The mop cloth should be only slightly damp. Mop under the dining table, and return the chairs once the floor is dry. Finally, place all carpets back neatly when the floor has dried completely.
Want a safer and more effective cleaning solution?
Read our guide on 3 Best Homemade Floor Cleaner Recipes (For Wood, Tile & Laminate)
Step 15: Disinfectant Spray (Optional)
This step is particularly important if you have multiple pets. Or you are sensitive to germs, have elderly family members undergoing treatment, or have a baby at home.
Most commercial cleaning detergents already contain disinfecting agents, so it’s usually unnecessary to spray disinfectant separately.
However, if you’re using a detergent without disinfecting properties, apply disinfectant spray after cleaning, especially on high-contact areas like the kitchen sink, cabinet knobs, fridge door, and trash bin handle.
Step 16: Final Check
- Put all cleaning supplies back in their places, and don’t leave any cleaning cloths in the kitchen.
- Wipe the bottoms of detergent bottles and water buckets dry before placing them on the floor or back in their place.
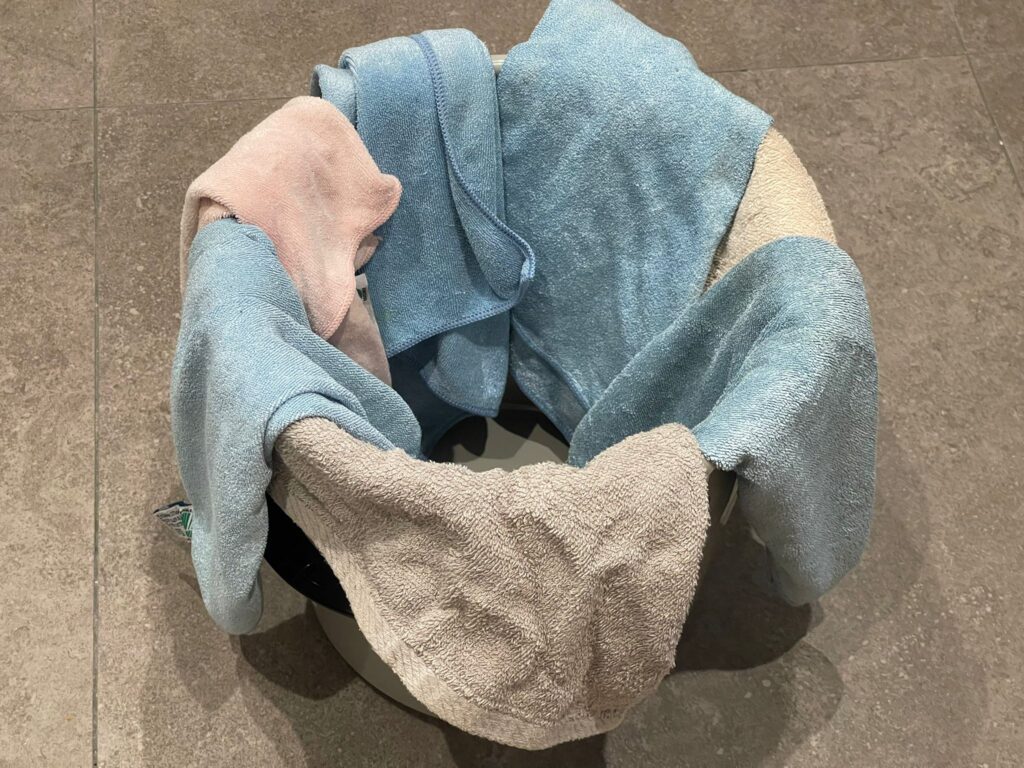
- If you can’t wash used microfiber cloths immediately, hang them on the edge of the mop bucket to dry and prevent odors.
- Remember to vacuum the duster before storing it in the cleaning cabinet to avoid spreading dust.
- Go through the regular kitchen cleaning steps to make sure nothing has been missed.
- Finish by viewing the kitchen from a stranger’s eye to ensure it looks spotless and inviting.
Stick to this kitchen cleaning guide weekly and use the right cleaning tools for the best results. These cleaning tips will help even the busiest homeowners maintain a sparkling kitchen effortlessly.
This entire guide serves as a complete step-by-step kitchen cleaning plan, helping you maintain a hygienic and tidy kitchen easily.
✨Conclusion
By following this step-by-step kitchen cleaning checklist regularly, you can maintain a spotless, organized kitchen without spending hours each time. Make it part of your weekly routine to save both time and energy while keeping your space fresh and hygienic.
Frequently Asked Questions
To keep your kitchen healthy, eliminate bacteria by washing your hands frequently and disinfecting your work area. Prevent cross-contamination by using separate cutting boards for raw meat and vegetables, and always store meat at the bottom of the refrigerator so it doesn’t touch other foods. Make sure to cook meat to the right temperature, keep perishable foods safe, and change wet sponges and cloths regularly to maintain cleanliness.
How can I clean the kitchen without getting tired?
The right order of work reduces your fatigue. A quick sweep at the beginning stops the spread of dirt. Cleaning visible surfaces makes the house tidy in 45 minutes. This method saves you from extra effort.
Why do stains or spots remain in the kitchen even after wiping?
Using a damp cloth on dusty surfaces creates muddy stains. Cleaning dry dust first should be your main task. Wiping with soapy water removes the remaining dirt. Finally, rubbing with a microfiber cloth completely removes water stains.
Why does the kitchen feel greasy even after cleaning?
Hidden grease makes the air heavy and smelly. The wall and fan behind the stove attract a lot of dust and grease. Using hot soapy water removes this grease. Disinfecting the handles completely removes the invisible stickiness.
How can I stop the kitchen floor from feeling sticky?
Excess detergent is the main cause of sticky floors. Thorough sweeping is the main step before mopping. Using a moderate amount of cleaner prevents soap scum buildup. Proper mopping dries floors quickly and cleanly.
What is the most efficient way to handle a step by step kitchen cleaning?
The most efficient method is to always work top-to-bottom and clockwise. Start by decluttering countertops, then dust high areas like ceiling fans and cabinet tops so debris falls lower. Next, spray and wipe upper cabinets, appliances, and countertops, before finishing by sweeping and mopping the floor out of the room.














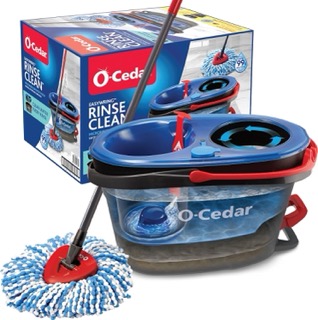
O-Cedar EasyWring RinseClean Spin Mop System Review: Worth Buying?
Does separate clean water make mopping easier? Explore the O-Cedar Eas…
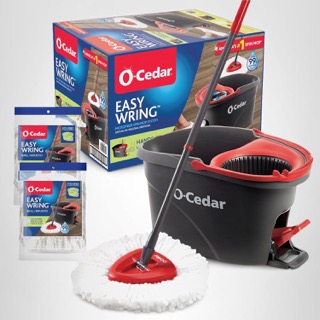
O-Cedar EasyWring Spin Mop Review: Is It Worth Buying?
Does easier wringing make the O-Cedar EasyWring spin mop worth buying?…
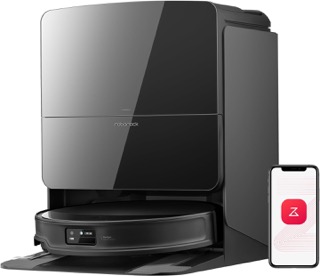
Roborock Saros 10R Robot Vacuum Review: Is It Worth the Premium Price?
Is the Roborock Saros 10R worth its premium price? This in-depth revie…

Roborock Qrevo S Pro Robot Vacuum Review: Is It Worth Buying?
The Roborock Qrevo S Pro promises less daily vacuuming and mop care. T…

10 Best Roborock Robot Vacuum Models: Which Fits Your Home?
Which Roborock robot vacuum fits your home? Compare 10 models across t…
5 Best Microfiber Cleaning Cloths: Which Should You Buy?
Find the best microfiber cleaning cloth for your home. Compare five pi…
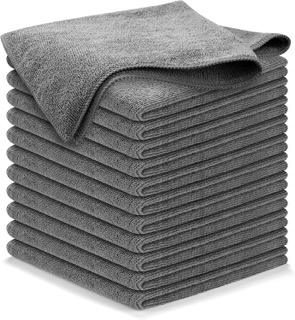
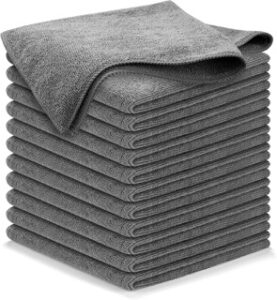
USANOOKS Microfiber Cleaning Cloth Review: Is the Grey 12 Pack Worth It?
Considering the USANOOKS grey 12 pack? Explore its size, color choices…

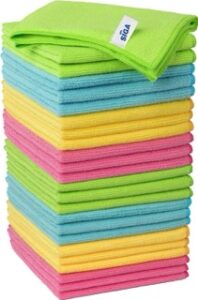
MR.SIGA Microfiber Cleaning Cloth Review: Is the 12 Pack Worth It?
Are MR.SIGA microfiber cleaning cloths worth a spot in your kitchen? T…
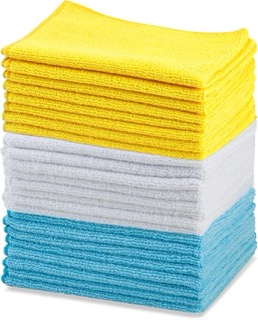
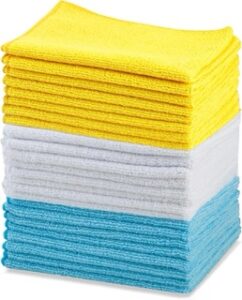
Amazon Basics Microfiber Cleaning Cloths Review: Are They Worth Buying?
Amazon Basics Microfiber Cleaning Cloths provide an affordable 24 pack…
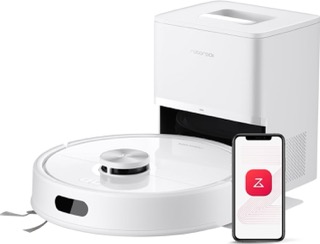
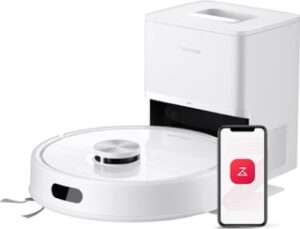
Roborock Q7 M5+ Robot Vacuum Review: Is This Budget Vacuum and Mop Worth It?
Can an affordable robot really vacuum, mop and empty itself effectivel…
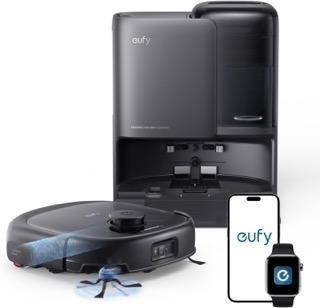
Eufy E25 Robot Vacuum and Mop Review: Is It Worth Buying?
Can the Eufy E25 Robot Vacuum replace both your vacuum and mop? This i…
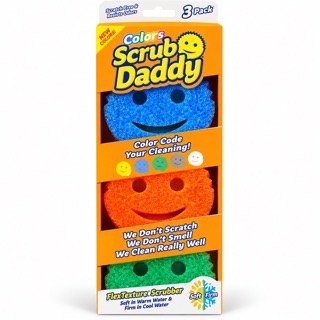
Scrub Daddy Review: Is This Popular Sponge Worth It?
Is Scrub Daddy really better than a regular sponge? This Scrub Daddy r…