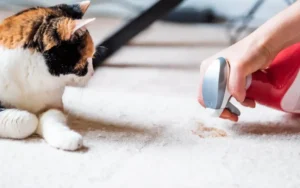
Every cat owner in the U.S. has fought the Battle of Eau de Litter Box! One moment, life’s peachy; the next, the house reeks. Cat urine contains uric acid crystals that adhere to any surface.
Tried vinegar or soap? Feels clean for a second, but once it gets damp, the smell is back. Fancy cleaners exist, but they are often overpriced, contain harmful chemicals, and can be unsafe for cats.
That is why many cat owners turn to a homemade enzyme cleaner for cat urine. Cheap, natural, and effective when made right. It breaks down the crystals instead of covering them up. For anyone tired of haunting odors, this simple DIY method is a true game-changer.
What is an Enzyme Cleaner and How Does It Work?
Most folks grab random spray and hope for the best. Cat pee is stubborn with proteins, salts, and uric acid that resist average cleaners. Regular sprays just cover odor or clean the surface, but the stink stays.
Enzyme cleaners work differently. They break down uric acid crystals at the molecular level. Odor is not masked; it is gone.
If you want a homemade enzyme cleaner for cat urine, the secret is fermentation. Bacteria and enzymes develop during the process and digest the compounds, causing odor. Once applied, they keep working until the source is gone.
This makes enzyme cleaners more effective than any perfumed spray. They tackle the problem directly and deliver lasting results. For cat owners dealing with tough stains, DIY enzyme solutions can be a reliable and affordable option
Tip: Enzymes don’t just clock out when you do. Nope, they keep munching away at gunk and stains way after you’ve put the sponge down. Basically, you can walk away and let those little guys handle the dirty work for you. Pretty slick, right?
Read More: Homemade Bug Spray with Essential Oils
DIY Homemade Enzyme Cleaner for Cat Urine Recipe (Step by Step)
Making your own enzyme cleaner may sound like a science project, but it is actually very simple. All you need are kitchen ingredients and a little patience for fermentation.
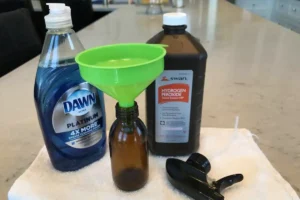
Ingredients
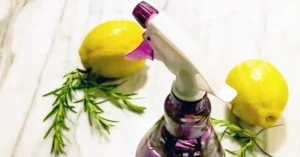
- Citrus peels (lemon, orange, or lime)
- 1 cup brown sugar
- 2 teaspoons yeast
- 4 cups water
Steps
- Place the citrus peels in a clean plastic bottle with a tight lid.
- Add the brown sugar and yeast.
- Pour in the water.
- Close the bottle and shake well.
- Leave the bottle in a warm place for at least 2 to 3 weeks. Open the lid slightly once a day in the first week to release pressure.
- After fermentation, strain the liquid into a spray bottle for use.
Yeast plus sugar kick off this wild little enzyme party that basically chews up all the gross stuff. That’s why this cleaner actually works on cat pee, instead of just masking the smell like those wimpy sprays from the store.
Tip: If you’re impatient (and honestly, who isn’t when there’s cat pee involved?), toss the bottle in a warm spot, like that cabinet above your stove nobody uses. A bit of heat gets the yeast all hyped up, and boom, you’ve got your cleaner in, like, ten days. Not bad, right?
How to Use Homemade Enzyme Cleaner on Cat Urine Stains
Once your enzyme cleaner is ready, it is time to tackle the stains. The method matters just as much as the recipe.
- Blot the area: Use paper towels or cloth to soak up as much fresh urine as possible. Do not rub, as it pushes liquid deeper into fibers.
- Spray generously: Cover the stain with your homemade enzyme solution.
- Let it sit: Leave the solution for at least 15 to 30 minutes on hard surfaces and several hours on carpets or upholstery. Enzymes need contact time to work.
- Rinse and dry: Blot again, rinse with clean water, and allow to air dry.
Tip: Use a blacklight to find hidden pee stains, because if your cat smells old urine—even faintly—it will keep peeing there again and again.
Best Surfaces to Use Homemade Enzyme Cleaner On
The best homemade enzyme cleaner for cat urine works on a variety of surfaces, but application methods vary.
Carpets and Rugs
This is where most accidents happen. Saturate the area so the cleaner reaches deep into the fibers and padding. If the smell lingers, repeat the process.
Hardwood Floors
Test a small section first to ensure no discoloration. Wipe thoroughly after application to avoid moisture damage.
Upholstery and Furniture
Apply lightly to avoid over-soaking cushions. Use a fan or open windows for faster drying.
Litter Boxes
Spray after your regular cleaning routine. Enzyme cleaner removes odor buildup that normal soap cannot reach.
Tip: Don’t go mixing your enzyme cleaner with bleach or anything that’s got ammonia in it. Not only do they just kinda kill each other’s vibe, but you might end up with some nasty fumes like, the kind you absolutely don’t want to breathe in. Just… don’t do it.
Safety Tips for Cats and Family
Because this cleaner ferments, you need to handle it carefully during preparation and storage. Here are some important safety points:
- Store the bottle in a cool, ventilated area while fermenting, since pressure builds up inside.
- Always strain the liquid before using it to avoid clogged spray nozzles.
- Do not add strong essential oils like tea tree or peppermint. Many are toxic to cats even in small amounts.
- After cleaning pet areas, rinse lightly with water before letting your cat return.
One of the coolest things about enzyme cleaners? They break down and disappear without trashing the totally biodegradable, non-toxic planet (if you make ’em right, anyway). But hey, don’t let that “natural” label fool you. Not every homemade mix is a good idea. Some DIYs out there toss in sketchy stuff, so maybe skip the random internet concoctions.
Troubleshooting: If the Smell Still Lingers
Even the most effective cleaners can struggle if the odor has penetrated too deeply. Here are common reasons the smell sticks around:
- Not enough soaking time: Enzymes need hours, not minutes, especially for old stains.
- Padding penetration: In carpets, urine can seep below the top layer. You may need multiple treatments.
- Very old stains: Cat urine that has dried for weeks may require enzyme application several times.
If you’ve tried scrubbing a million times and the stink still won’t quit, it’s time to grab heavy-duty enzyme cleaners. Cat pee seeps into carpet padding and subfloor. No wonder the smell keeps coming back, even when the surface looks clean.
Tip: Stick a fan next to the area you just cleaned. It’ll dry out faster, which means less funky odor hanging around and less chance your cat decides to claim the spot again. Nobody needs a repeat performance.
Preventing Cat Pee Problems in the Future
Cleaning is half the battle. Preventing future accidents saves you time and frustration.
- Clean immediately: Cats are more likely to pee again if they smell a previous accident.
- Provide multiple litter boxes: Experts recommend one per cat plus an extra.
- Address health issues: Sometimes inappropriate urination signals urinary tract infections or stress.
- Reduce stress: New pets, changes in routine, or dirty litter boxes can trigger accidents.
Using a homemade enzyme cleaner for cat urine helps remove odor completely, which discourages cats from returning to the same spot. Combine that with good litter box habits and most problems fade away.
Conclusion
You don’t have to let your whole house smell like a giant litter box. Seriously, just whip up your own homemade enzyme cleaner for cat urine way cheaper, no sketchy chemicals, and it actually crushes the stink instead of just covering it up with fake florals.
Once you whip up your own batch, those store-bought sprays are gonna start collecting dust real quick. Play around with different recipes, toss in your own little twists, maybe a dash of this, a sprinkle of that and just watch your place smell a million times better. Go ahead, brag about it to your friends too.
FAQs
What is the best homemade enzyme cleaner for cat urine?
If you want the magic combo, just toss some citrus peels, a handful of brown sugar, a little yeast, and water into a jar, and then just let it chill on your counter for, like, a couple weeks, maybe three if you forget about it (which, let’s be real, you probably will). That’s the stuff.
How long does the homemade enzyme cleaner take to ferment before using?
Usually, you’re looking at, like, two to three weeks, give or take. Crank up the heat and bam—it happens even faster.
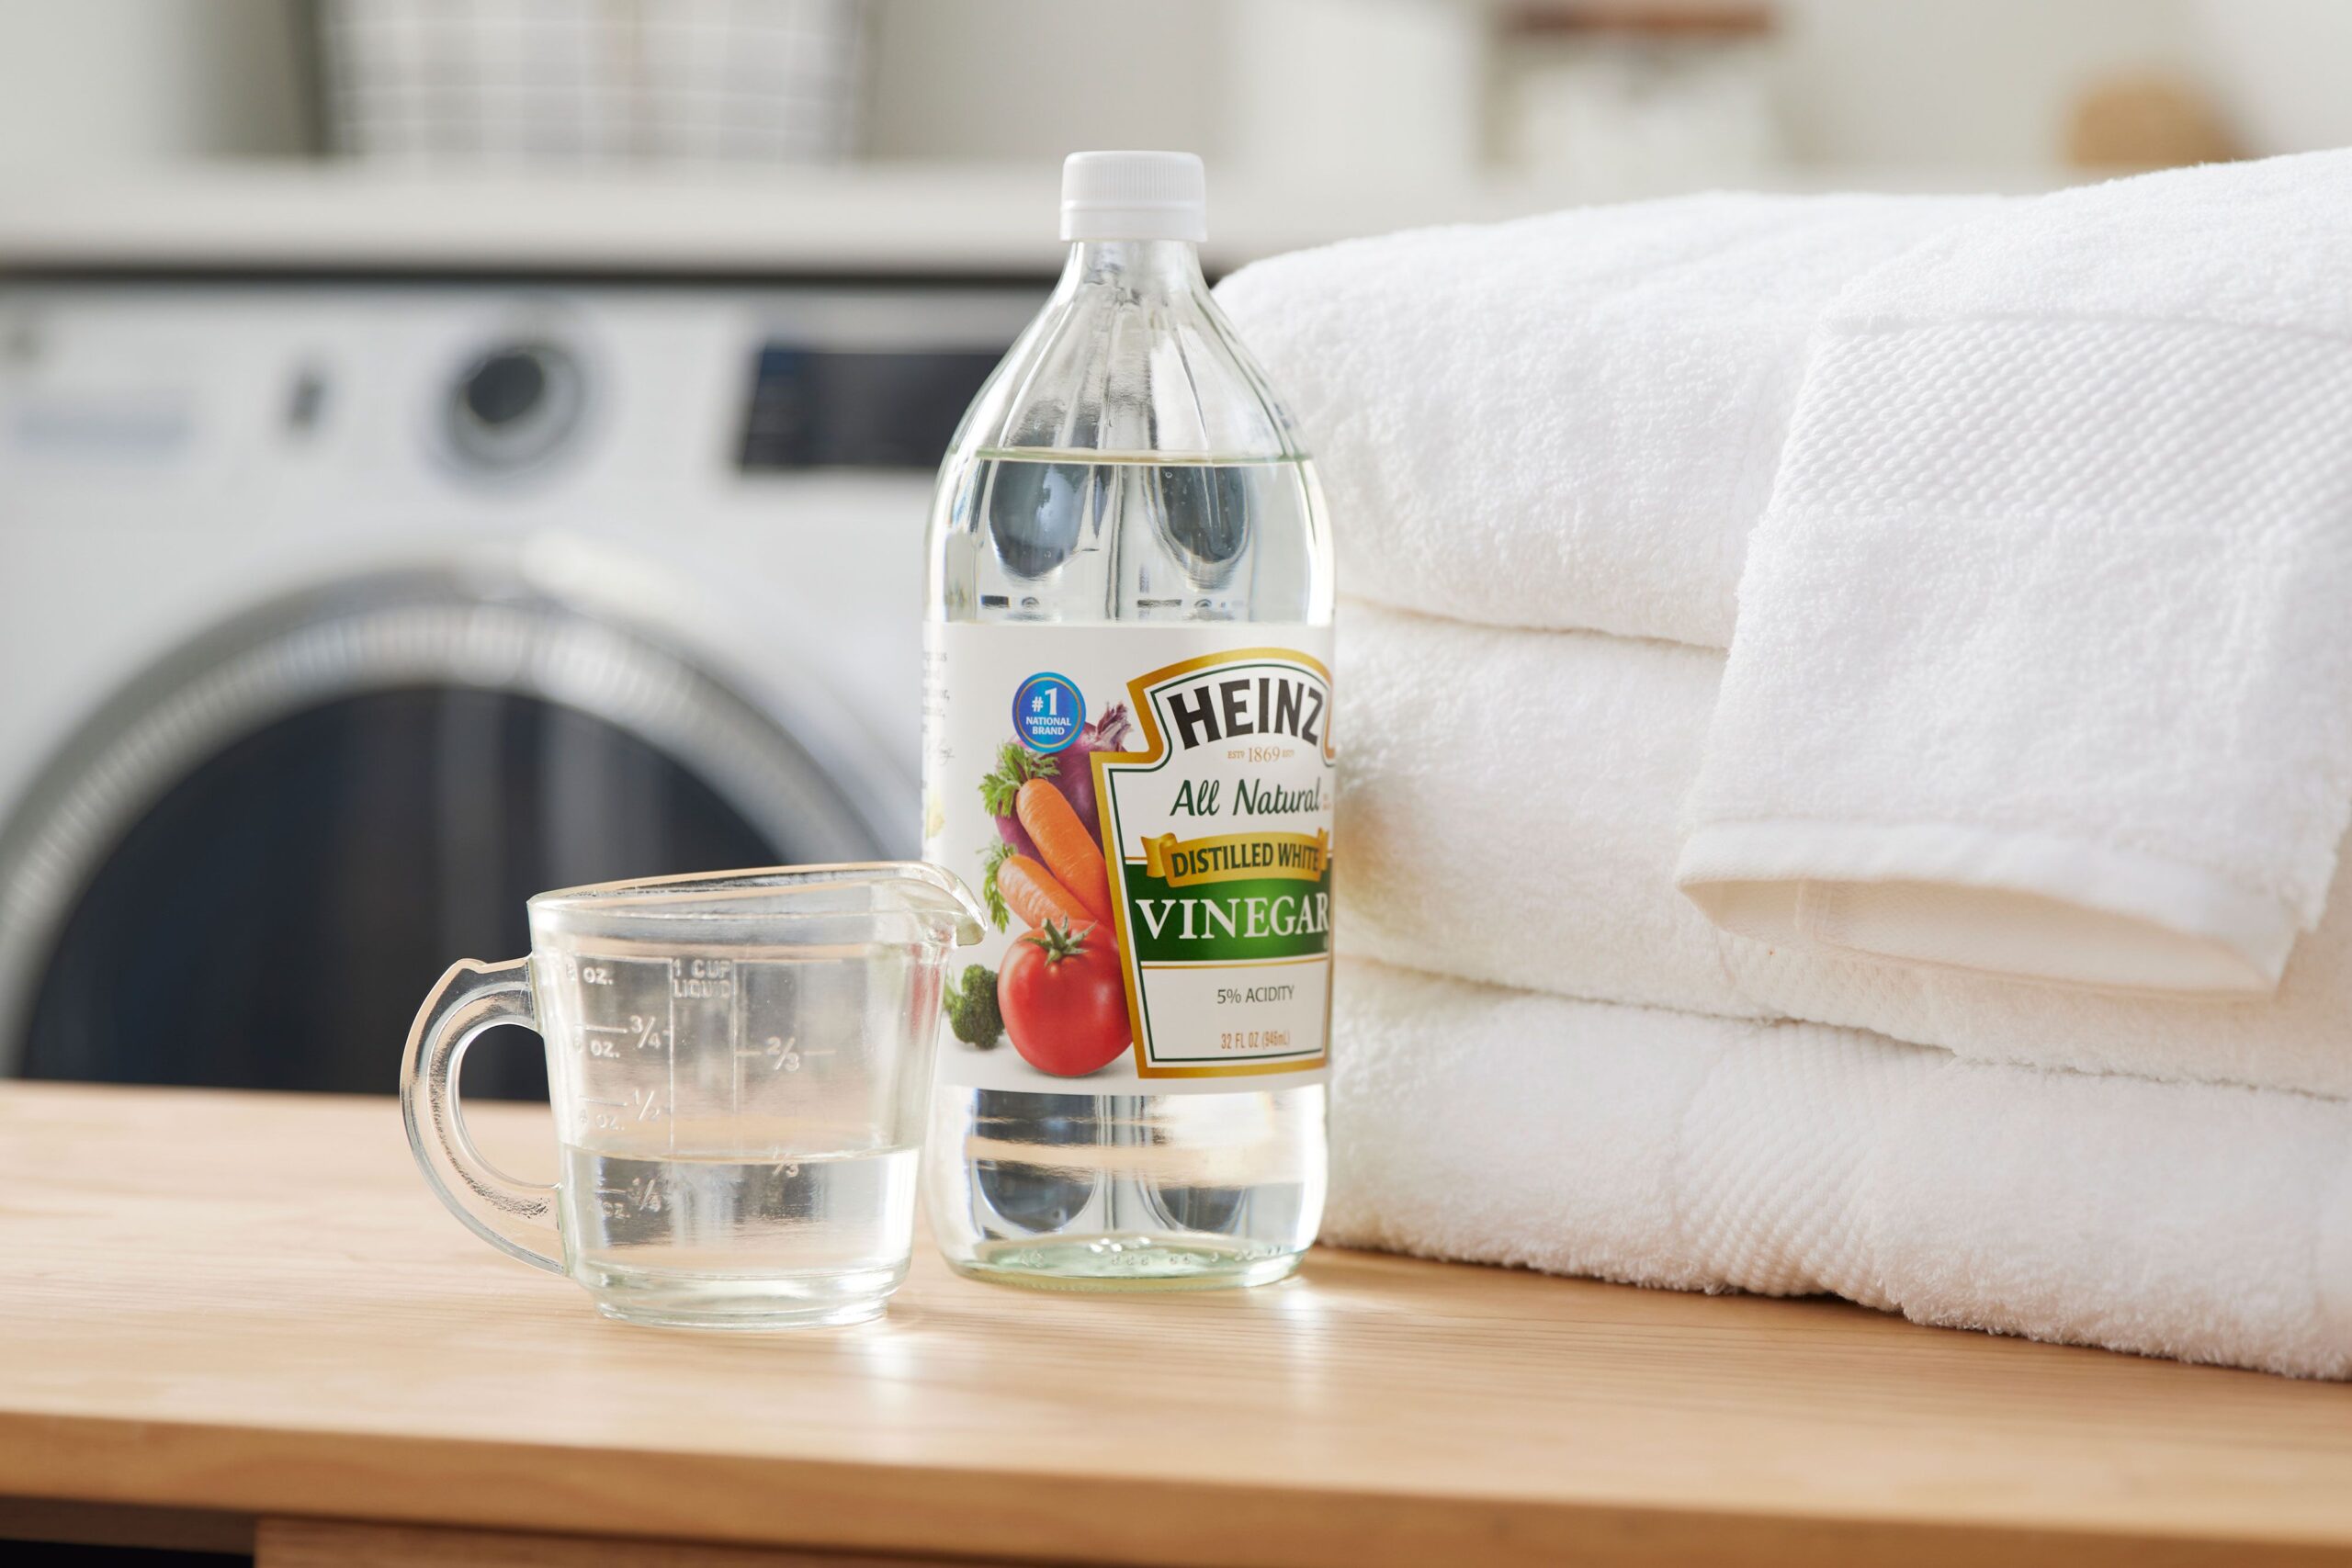
Can I use vinegar instead of an enzyme cleaner for cat pee?
Vinegar kinda masks the smell for a bit, but it doesn’t actually get rid of those stubborn uric acid crystals enzymes are the real MVPs for that job. So yeah, you’ll cover up the stink for now, but the problem’s still chillin’ underneath.
Is homemade enzyme cleaner safe for cats and kids?
Totally, just steer clear of the nasty chemicals and give everything a good rinse after you’re done scrubbing. No one wants to eat off a countertop that tastes like cleaning spray, right?
How do I get rid of the old cat urine smell in the carpet with a homemade cleaner?
Soak the heck outta that spot, walk away, and let the cleaner do its thing for, like, hours, seriously, just forget about it for a while. If it’s still gross after that? Hit it again. Sometimes you gotta show the stains of who’s boss.
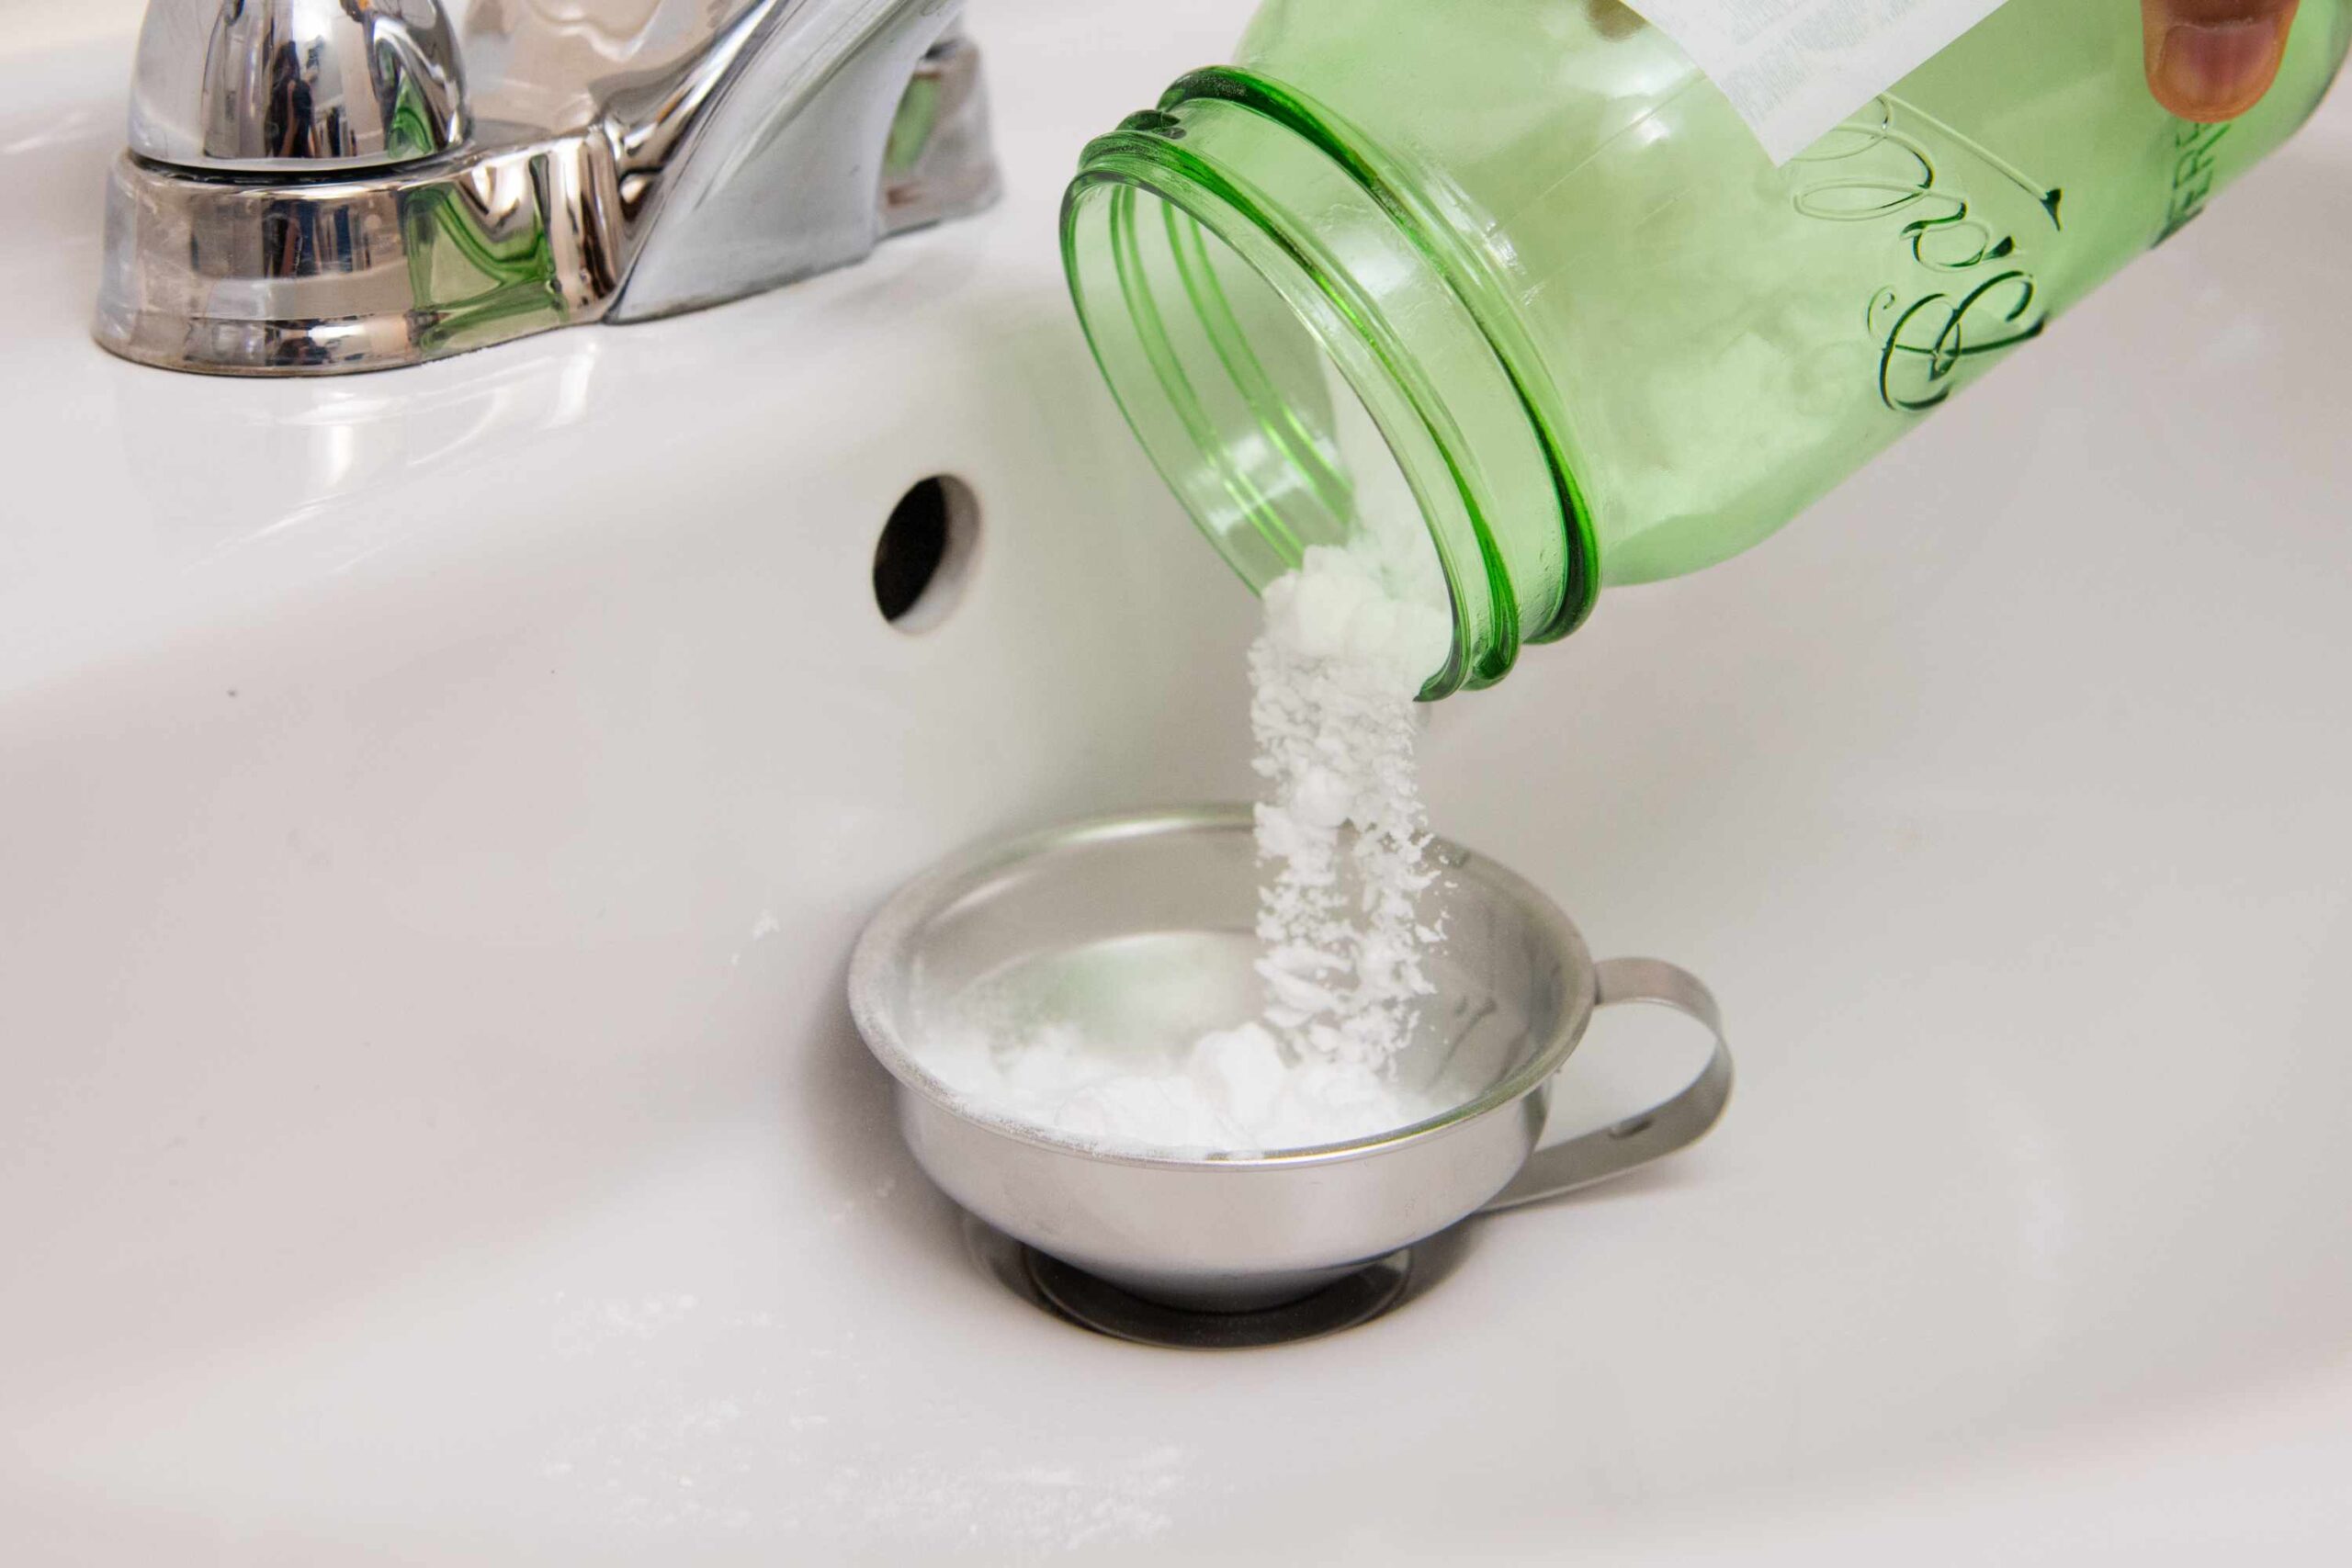
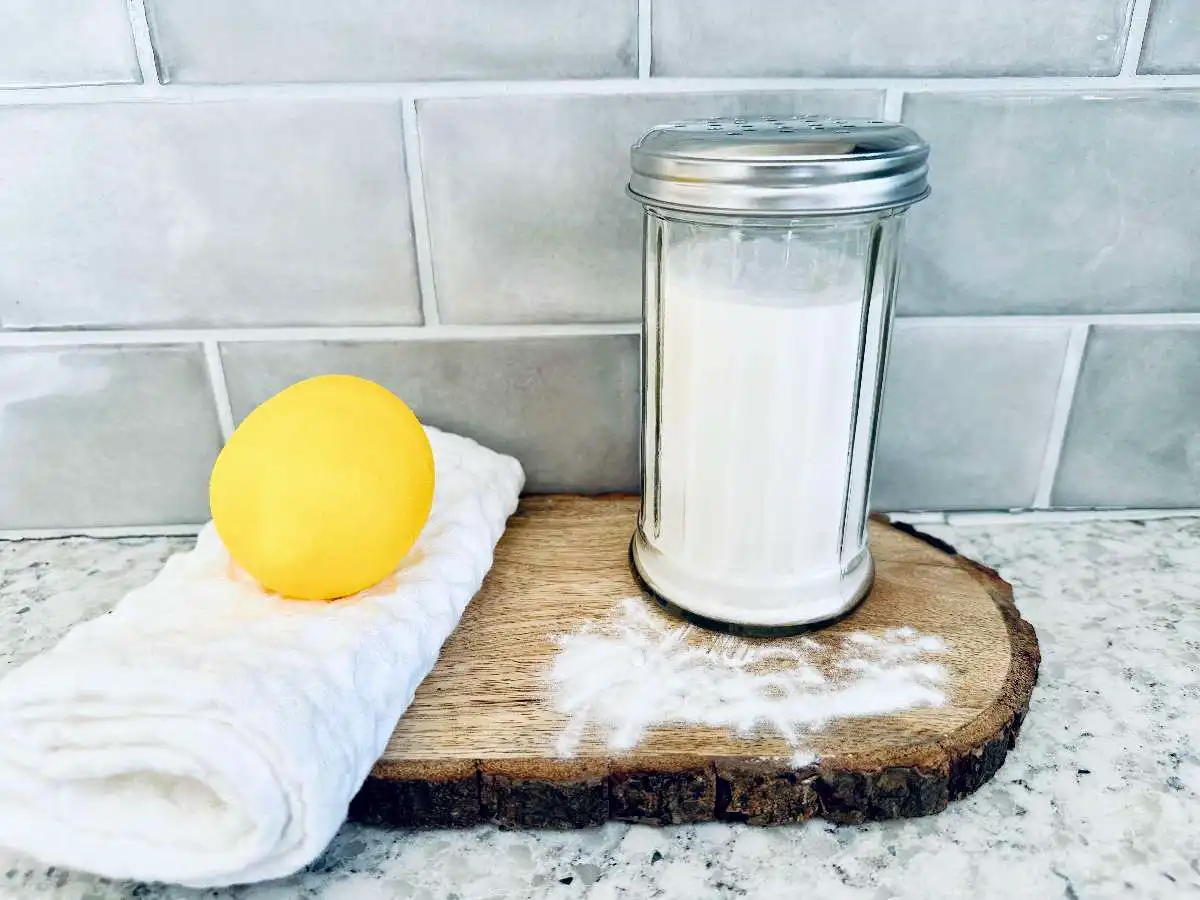
Does baking soda work as well as an enzyme cleaner for cat urine?
Baking soda’ll sorta mask the smell for a bit, but it’s not gonna wipe out those stubborn uric acid crystals completely. If you actually want the stink gone for good, you need enzyme cleaners; they’re the real MVPs for that mess.