Bathroom Deep Cleaning: Step-by-Step Guide for a Sparkling Space

I care about my family’s well-being, so I sincerely care about my bathroom’s health.
The bathroom is a place where harmful bacteria can thrive and grow, but frequent care helps keep it fresh and free from bacterial contamination.
Ideally, you should deep clean your bathroom every six months (except for certain parts like the floor drain), or at least once a year!
Depending on how dirty the bathroom is, deep cleaning may take 3-4 hours.
It’s important to thoroughly clean your bathroom, paying attention to every detail, including all accessible systems, and doing so carefully. This is why the bathroom and kitchen require the most time for deep cleaning in the entire house.
Today, in this article, I will share a step-by-step guide to bathroom deep cleaning, based on my practical and professional experience from a live deep cleaning session.
Let’s get started with the cleaning!
Bathroom Deep Cleaning Tools
- Red & pink microfiber cloths
- Glass cleaner microfiber cloth
- Hand gloves (important)
- Long-handled duster (optional)
- Vacuum cleaner (including small brush nozzle)
- Telescopic mop stick and pink mop cloth
- Mop bucket
- Sponge
- Narrow brush (for tiles grout, around the water tap, and overflow hole, etc)
- Screwdriver (To open up the floor drain strainer)
- Cleaning detergent
- Glass cleaner spray
- Dish soap (for bathtub)
- Toilet cleaner
- Bathroom cleaner/all-purpose cleaner
- Hard water stain (limescale) remover (optional)
- Disinfectant (Optional)
- Step stool (to reach higher areas
What is Included in Bathroom Deep Cleaning?
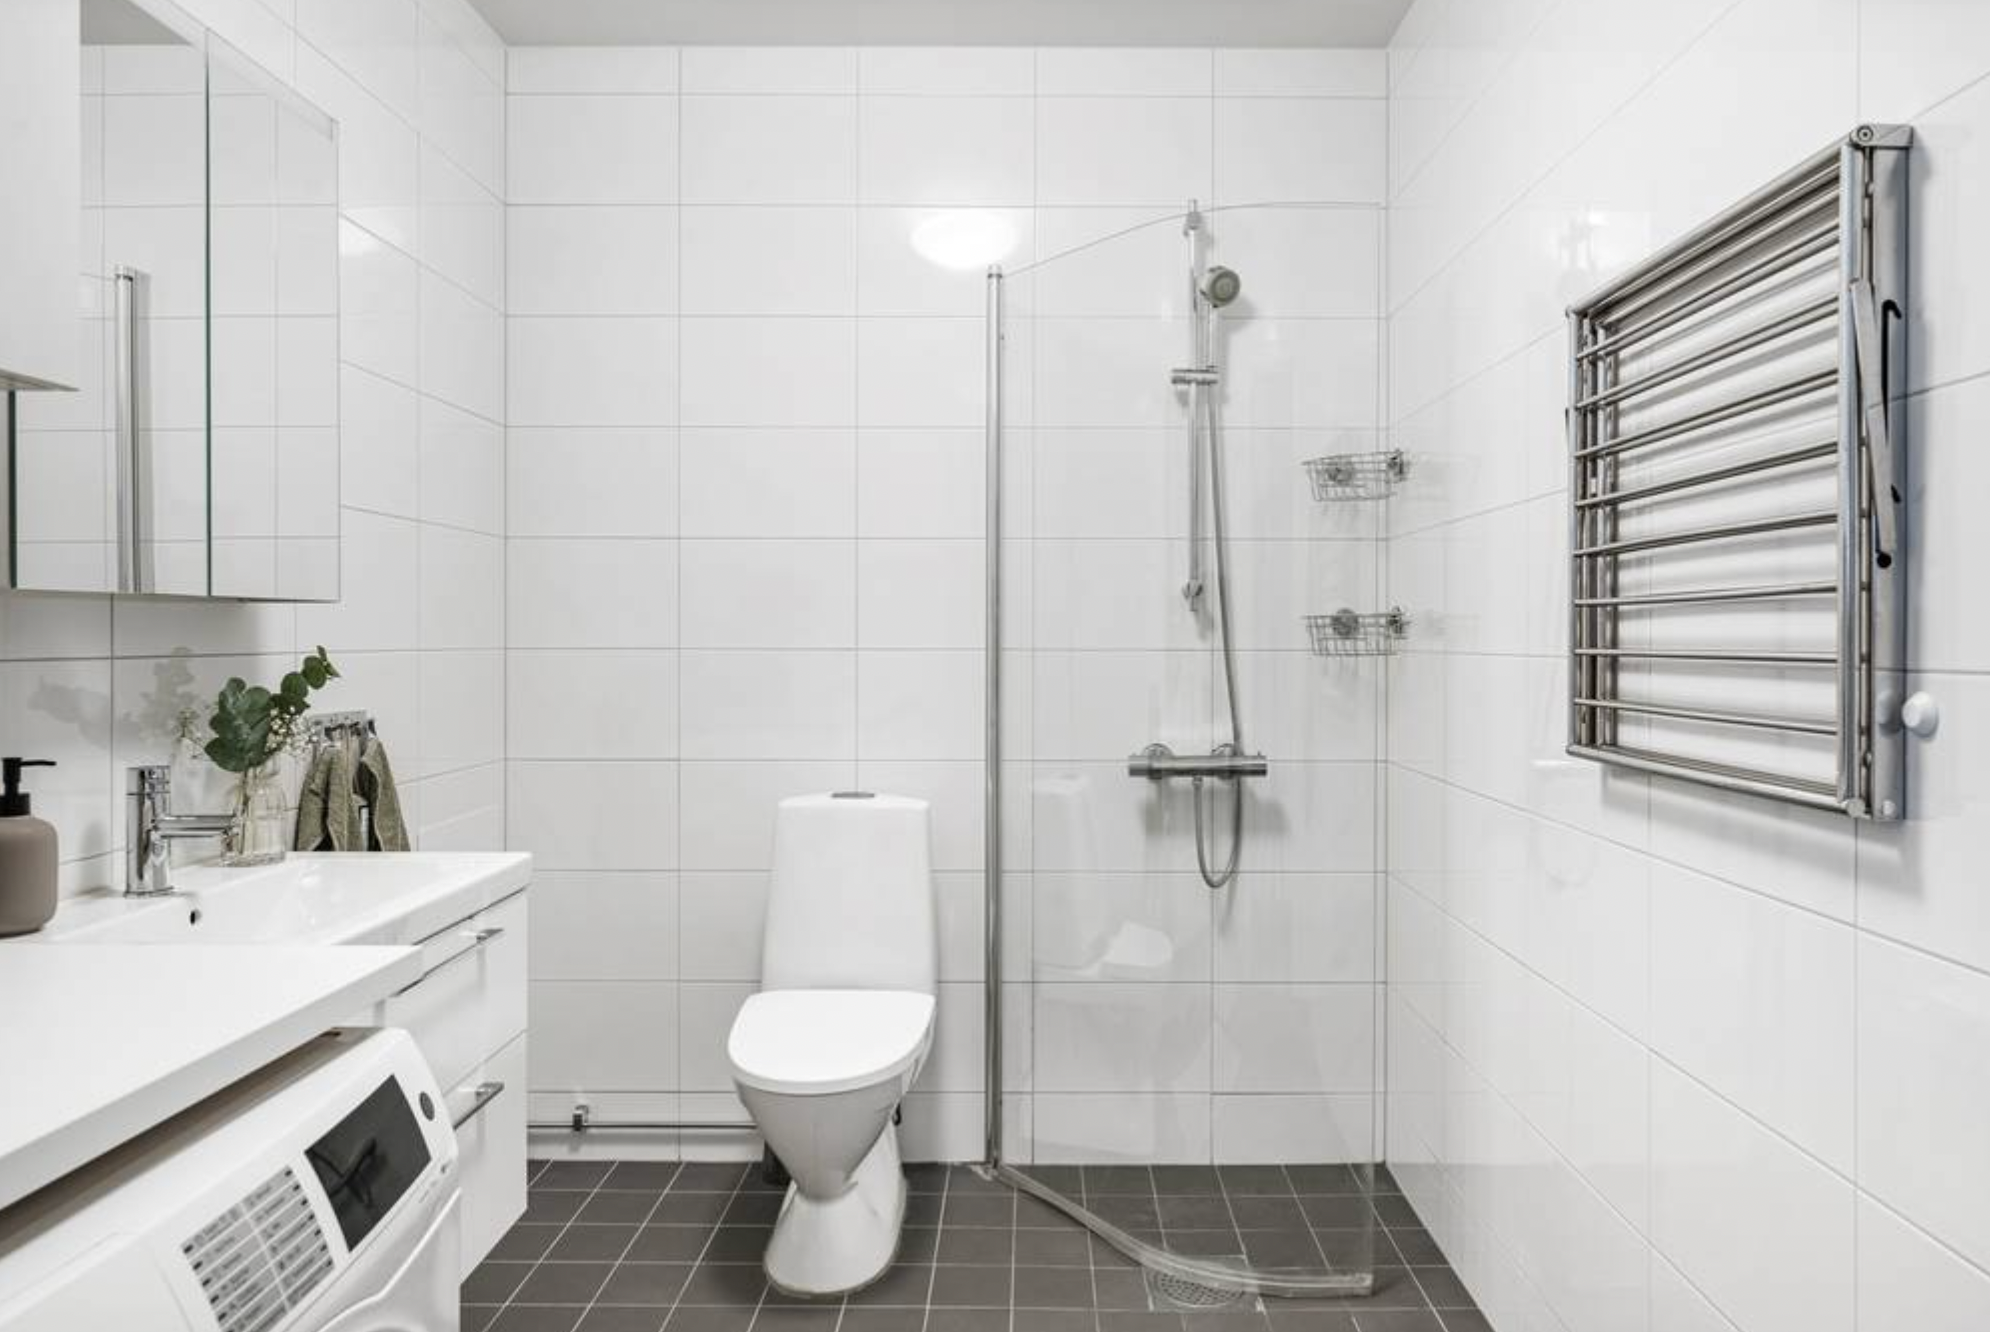
Bathroom deep cleaning includes thoroughly cleaning every part of the bathroom. Here is a short checklist to ensure you don’t accidentally miss anything.
Deep Cleaning Bathroom Checklist (Don’t Miss a Spot!)
- Thorough Dusting: From top to bottom
- Wiping: All visible surfaces
- Thorough Cleaning of-
- Bathtub
- Toilet
- Shower Glass / Glass Door
- Shower Pipe and Shower Head
- Shower Floor Drain
- Tiles and Grout
- Other Items to Clean
- Bathroom Sink
- Mirror
- Exhaust Fan (if present)
- Laundry Machine (if present)
- Bathroom Door and Door Frame
- Small Items: Toilet brush and holder, bin, tissue holder, hook, towel rack, etc.
- Bathroom Wall Wash and Wipe
- Wiping and Polishing: Water pipes, faucets, etc.
- Window and Window Frame (if present)
- Declutter and Organize: Inside cabinets, drawers, and on countertops
- Laundry: Shower curtains, rugs, and towels
How to Deep Clean a Bathroom? (Step-By-Step)
You will not deep clean your bathroom every month! Rather maybe once a year!
So, be prepared to invest a good amount of time into it. Of course, follow these steps to ensure you don’t miss anything.
Step 1: Prepare Your Tools
Deep cleaning a bathroom takes time and effort. So, it’s important to gather all the necessary cleaning tools before you start.
Having everything ready will save you from running around for missing items. Or skipping tasks because a tool isn’t available.
I always prepare the tools and keep them right in front of the bathroom door. This way, they don’t take up space inside the bathroom, and I can easily grab anything I need.
Step 2: Expand the Space
The more space you have in the bathroom, it is more easier to deep clean.
Start by removing small items that don’t need thorough cleaning.
For example:
- Throw out the trash and replace the bin bag. Wipe the trash can and set it outside.
- Shake out the rugs and place them outside the door.
- Take out the laundry basket, baby stools, or large toys.
- Remove any towels or clothes from the bathroom etc.
- Remove the shower curtain for laundry if it needs to be washed after the cleaning session.
Simply dust and wipe them using microfiber cloths then place them outside to create more open space inside the bathroom.
Dust and wipe them inside the bathroom to prevent dust from spreading outside the cleaning area.
Step 3: Decluttering
Less clutter, less effort in cleaning!
I never hesitate to throw out items that are not necessary or expired. It makes cleaning easier and helps create a simple, fresh bathroom environment.
Before you start cleaning, take a glance to declutter unnecessary things:
- Expired or unused makeup and toiletries
- Empty bottles or packaging
- Refill any essentials, like hand wash, cotton buds, liquid sanitizer, etc.
- Replace the things (if necessary) like toothbrushes, toothpaste, candles, shower scrubbers, etc.
If there are many small, sensitive, or expensive items, it’s best to plan a separate time to declutter carefully.
Otherwise, you might spend hours just on the initial steps, leaving the main cleaning still undone!
Step 4: Dusting and Vacuuming
Always dust while the bathroom is still dry and you are in the initial stage of cleaning. Once the floor and surfaces get wet, cleaning becomes much harder or even impossible, as dust can become sticky when wet.
Step-by-step dusting will help you to ease and fasten the cleaning process.
1. Dusting with a Telescopic Mop Stick
- Ceiling and Walls: Use a dry, clean mop cloth on a telescopic mop stick. Move it across the ceiling, down the walls from top to bottom, and into the corners. This method easily removes dust and cobwebs from the walls.
2. Dusting with Dry Microfiber Cloths
- Dust the exhaust fan, tops of cabinets, mirrors, large rain shower heads, lights, all visible surfaces, pipes, sink floor hood, door frame, etc.
3. Vacuum with a Small Brush Nozzle
- Clean inside drawers
- Laundry machine vent.
- Visible dust from the bathtub
- Small things in boxes
4. Vacuum the Floor with the Large Nozzle
- After dusting, a lot of dust and cobwebs will collect on the floor. Vacuum it thoroughly.
Completing the dusting and vacuuming before any wet cleaning will make the entire process much easier.
This wouldn’t be possible if you dust first and vacuum at the end of the cleaning.
Step 5: Deep Clean the Bathroom Floor Drain
In this step, you should clean the shower floor drain. Doing this now can help you avoid repeating some cleaning steps.
For example, if you clean the wall tiles first and then clean the floor drain, dirty black water from the floor drain might spill onto the tiles. That requires you to wipe them again.
If your bathroom has both a shower area and a bathtub in separate placements, you may have two-floor drains. And, you need to deep clean both of them.
Clean Thoroughly:
- Shower floor drain cover/strainer
- Water trap
- Shower drain pipe
Click here to learn How to Unclog or Deep Clean a Bathroom Floor Drain in 6 Easy Steps.
Step 6: Wiping
1. Wall Tiles:
During deep cleaning, your bathroom is not completely empty. It might still have items like a laundry machine, loose cabinets, boxes, and other small items.
So, it’s not wise to wash the entire wall with water flowing from the showerhead.
Instead, use a damp microfiber cloth attached to a telescopic mop stick to easily wipe the wall tiles. It allows you to reach everywhere without much effort and saves time.
Avoid using a wet cloth, as it may leave water stains when the wall dries.
2. Shower Area Wall Tiles:
For the shower area, you can wash the tiles with water flow.
You may find stains, oils, and soap scum here.
Scrub the tiles with a sponge, and use the narrow brush for the grout lines. After scrubbing, rinse the walls with water from the showerhead, then wipe them dry.
You may need to pull out the bathtub (if possible) to clean the side tiles that are always in contact when the bathtub is in use.
3. Surfaces:
Wipe all visible surfaces, such as cabinet doors, shelves, bathroom counters etc, using a damp cloth followed by a dry one.
4. Small Items:
Clean all small items like toiletries, candles, flower/plant pots, boxes, water pipes, electric sockets, tissue holder and bottles (shampoo, face wash, hand wash).
5. Laundry Machines :
Inside and outside, knobs, buttons etc.
6. Bathroom Door and Door Frame:
Wipe the door, knobs, and frame thoroughly. Be sure to remove stains, fingerprints, and watermarks. Don’t forget the top of the door frame and molding.
Here are 37 Proven Deep Cleaning Tips that might help you.
Step 7: Deep Clean the Bathtub
In your tub, you’ll need to tackle sticky and dry soap scum, mineral deposits, and other residues.
First, use the hottest tap water available to loosen the buildup.
Next, scrub thoroughly with a sponge and dish-cleaning soap, which is safe for all types of bathtub materials.
After scrubbing, rinse off the entire tub with clean water.
Finally, polish the bathtub’s faucets, handles, knobs, buttons, and the surface of the tub to restore its shine.
Caution:
Avoid using any abrasive scrubbers, such as steel wool.
It’s important to know the material of your bathtub before using any special abrasive commercial detergent.
Do not use metal or abrasive scrubbers like steel wool; they can leave scratches on your tub.
Step 8: Deep Clean the Shower Glass
Method 1:
Start by spraying glass cleaner evenly across the shower glass. Then, wipe it down with a glass-cleaning cloth. Repeat the process if necessary.
This is the quickest way to clean shower glass. However, it may not be the most effective if there are heavy hard water stains and soap scum.
Method 2:
Run hot tap water over the shower glass to loosen any build-up.
Next, scrub the glass with a sponge and dish-cleaning soap. Rinse thoroughly with water. If any stains or scum remain, repeat the process as needed.
If stubborn stains persist, consider using a specialized limescale remover, which may be more abrasive than regular cleaners.
Step 9: Deep Clean the Bathroom Floor
In my opinion, you don’t need to clean all areas of the floor tiles equally.
For example, the shower area floor tiles and the floor tiles under the mat in the walking area won’t be equally dirty.
However, pay close attention to the grout and tiles. Use a tile scrubber brush (if you have one!) for the shower area and a narrow brush for the grout. Otherwise, a normal sponge or scrubber will work too for the tiles.
You may need to pull out the bathtub (if possible) to clean the floor underneath. If the floor drain is clogged or there’s a leak around the stopper, mold or algae could develop on the floor without you realizing it.
Step 10: Deep Clean the Toilet
Start by applying toilet cleaning detergent or homemade toilet cleaner to the toilet bowl, ideally while cleaning other areas. Because, it works good if you allow the toilet cleaner to sit for 10 minutes.
- Use a toilet brush to scrub the inside of the bowl, the trapway, and flush to rinse.
- Take a damp red microfiber cloth with some cleaning detergent and thoroughly clean all parts of the toilet, including:
- Tank lid and outside of the tank
- Toilet seat
- Seat lid
- Toilet rim
- Hinges
- Toilet base
- Rinse the damp cloth and wipe down the entire toilet to remove any leftover residue.
- Finally, wipe the entire toilet again with a dry microfiber cloth for a polished finish.
Step 11: Clean the Shower Pipe and Head
Use a damp pink microfiber cloth to thoroughly wipe all parts and joints of the
- Shower pipe
- Showerhead, and
- Large rainfall shower head.
Finally, polish the shower set with a glass microfiber cloth for a spotless, shiny finish.
Step 12: Clean the Mirror and Sink
1. Spray glass cleaner on the mirror, including the inside and outside if it’s a cabinet with a mirrored door.
Wipe the surface gently with a glass cleaner microfiber cloth. If any spots remain, apply a bit more pressure with your fingertip on the cloth to remove them.
2. Next, clear items like face wash, shampoo bottles, and other products from around the sink area.
3. Use a pink damp cloth with a bit of detergent to clean the sink thoroughly, making sure to clean all areas, including the:
- Stopper
- Overflow hole
- Faucets
Caution:
Be cautious when using water to clean the sink.
Occasionally, water can seep through grout leaks near the tap, making its way into the cabinet or drawer below.
This can cause damage to the wood without visible signs until it’s too late.
Step 13: Polishing
Now, inspect everything to ensure it’s thoroughly cleaned.
Give a final polish to the faucets, pipes, and any other areas that need a gleaming finish. It helps to achieve the sparkling look that completes each deep cleaning session.
Step 14: Mop
With the floor already wet or semi-dry, there’s no need to vacuum, as it may worsen the situation.
Mop the floor, and if needed, mop a second time to ensure no dust remains.
Step 15: Put Things Back
Allow the floor to dry completely. Then, return items like bins, rugs, and other accessories to their designated places.
Step 16: Laundry
Run one or two loads of laundry with items collected from the bathroom, such as shower curtains, rugs, towels, and cleaning cloths used during the cleaning process.
Caution:
- Be careful not to let water splash onto the ceiling or lights; water on the ceiling can lead to mold, and water on lights may cause them to explode.
- Avoid disassembling any fixtures, such as the toilet flush box, unless you know how to reassemble them.


